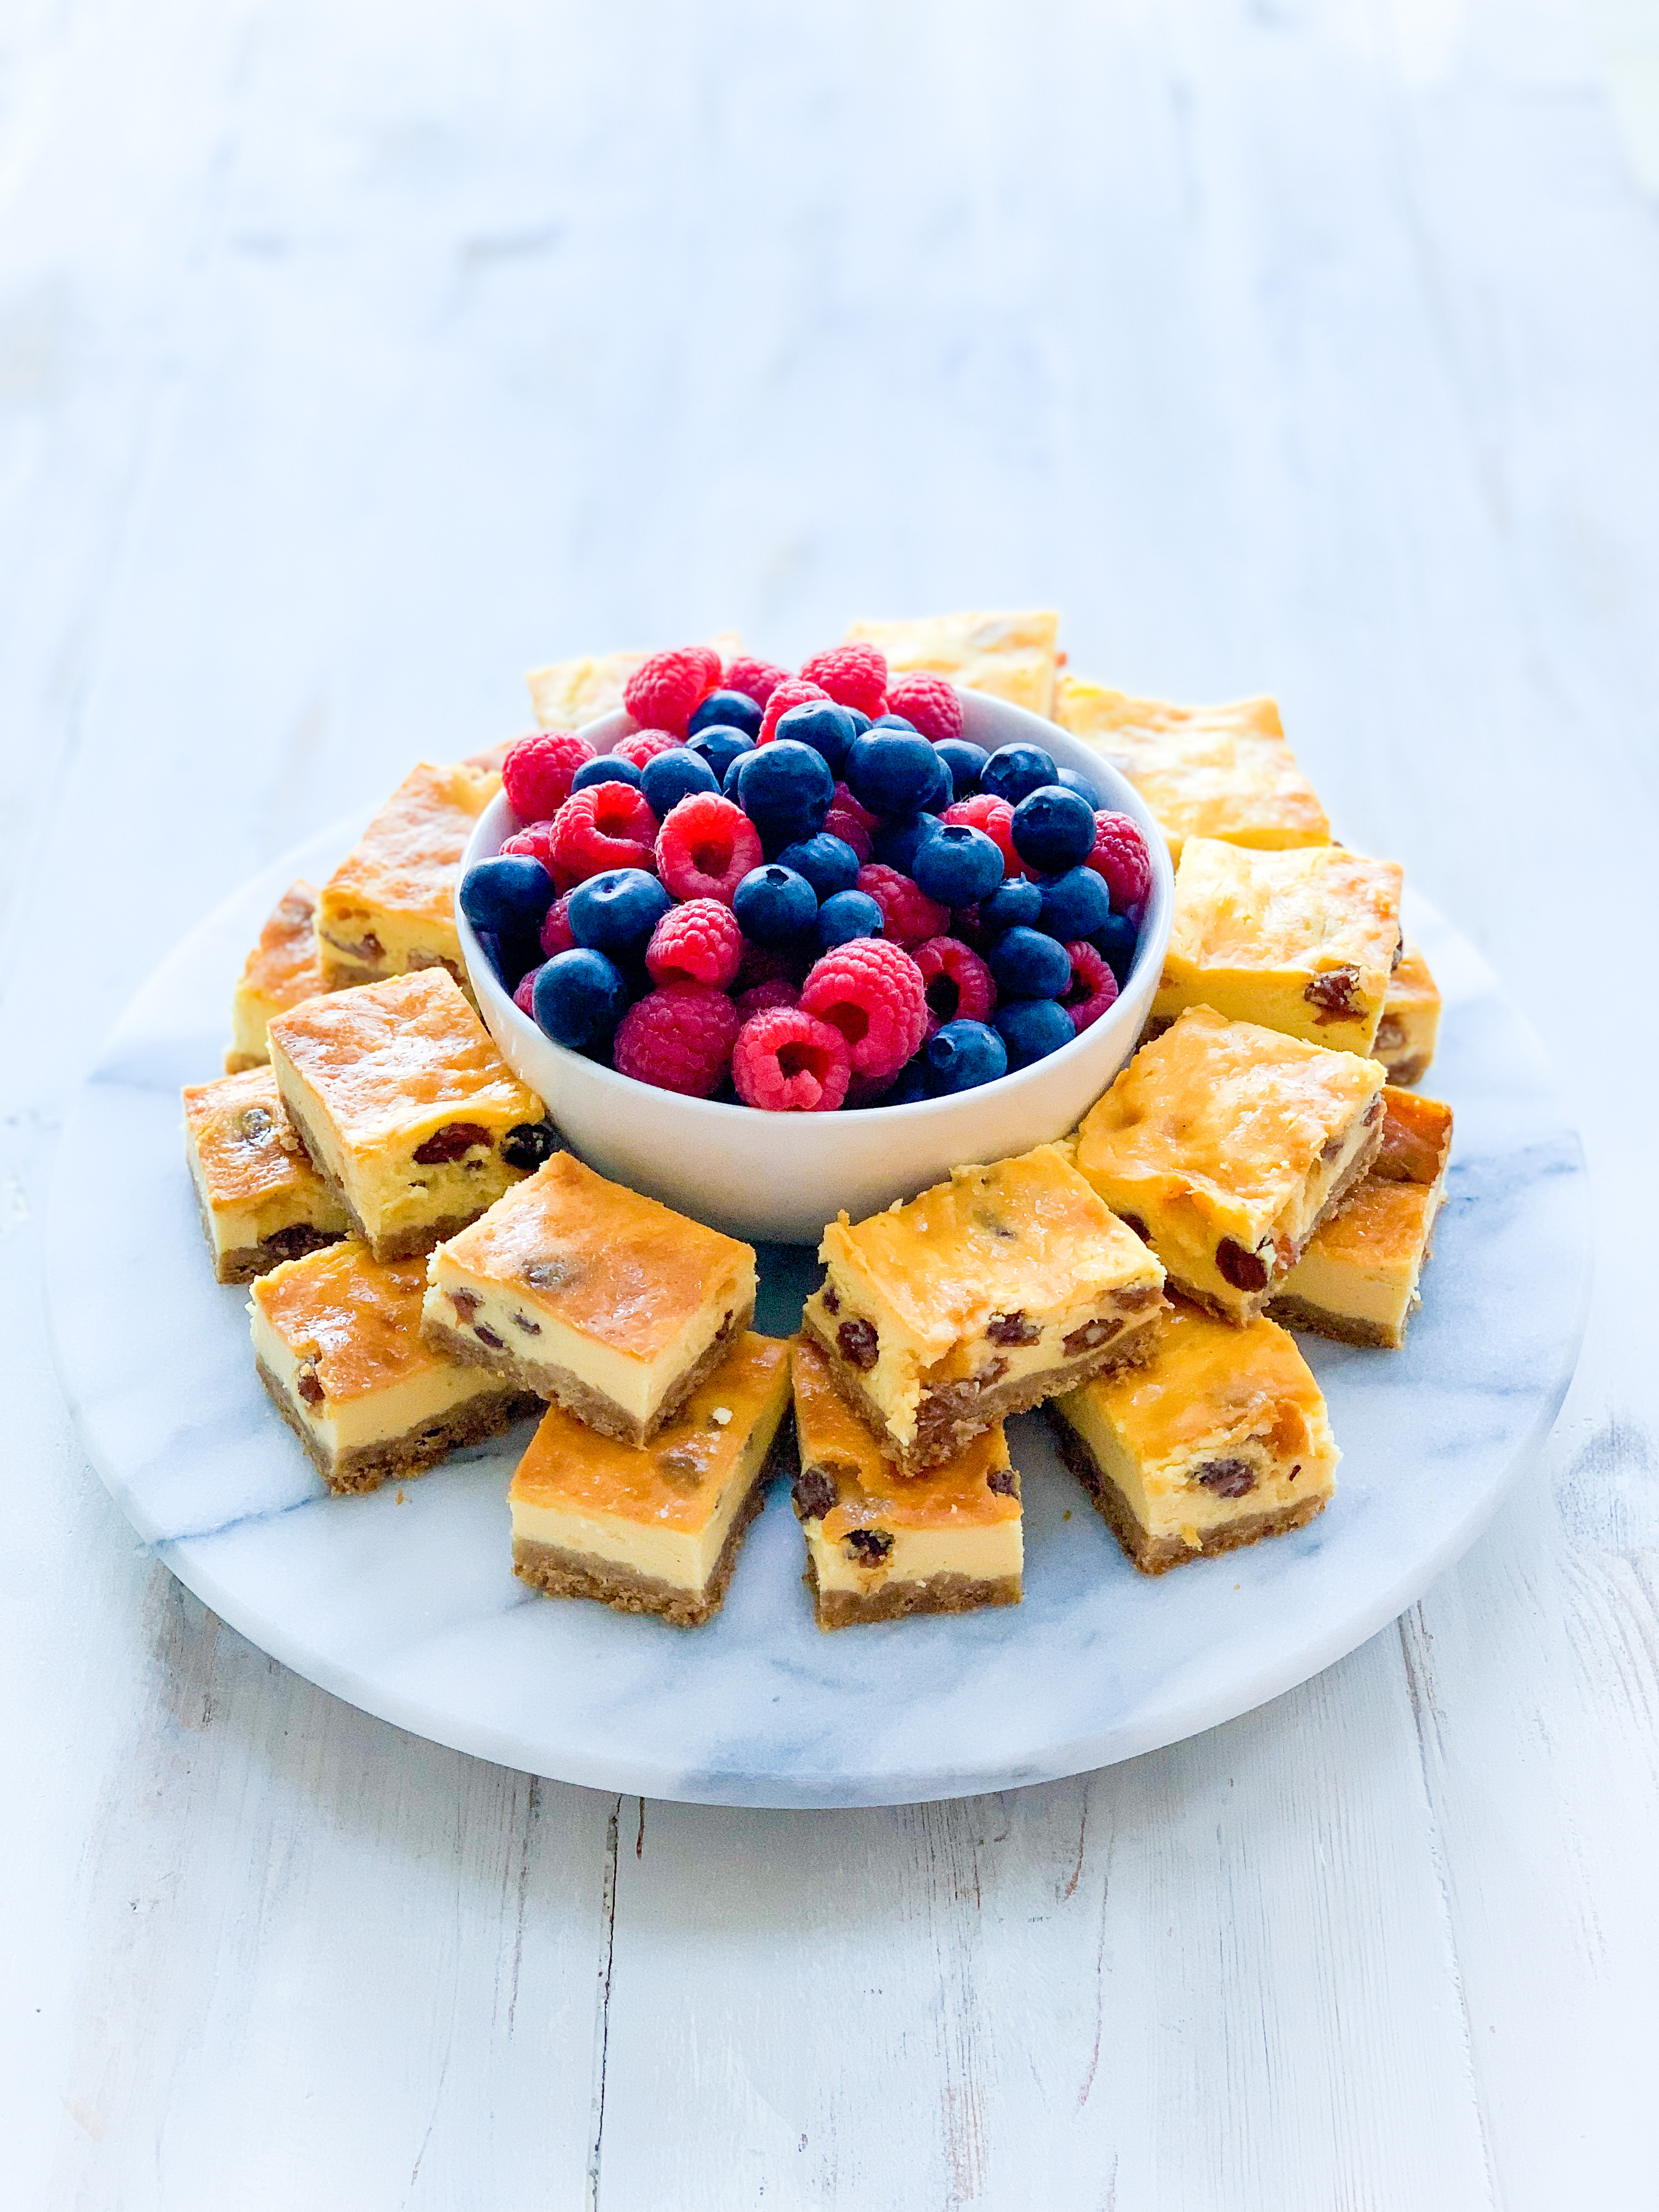

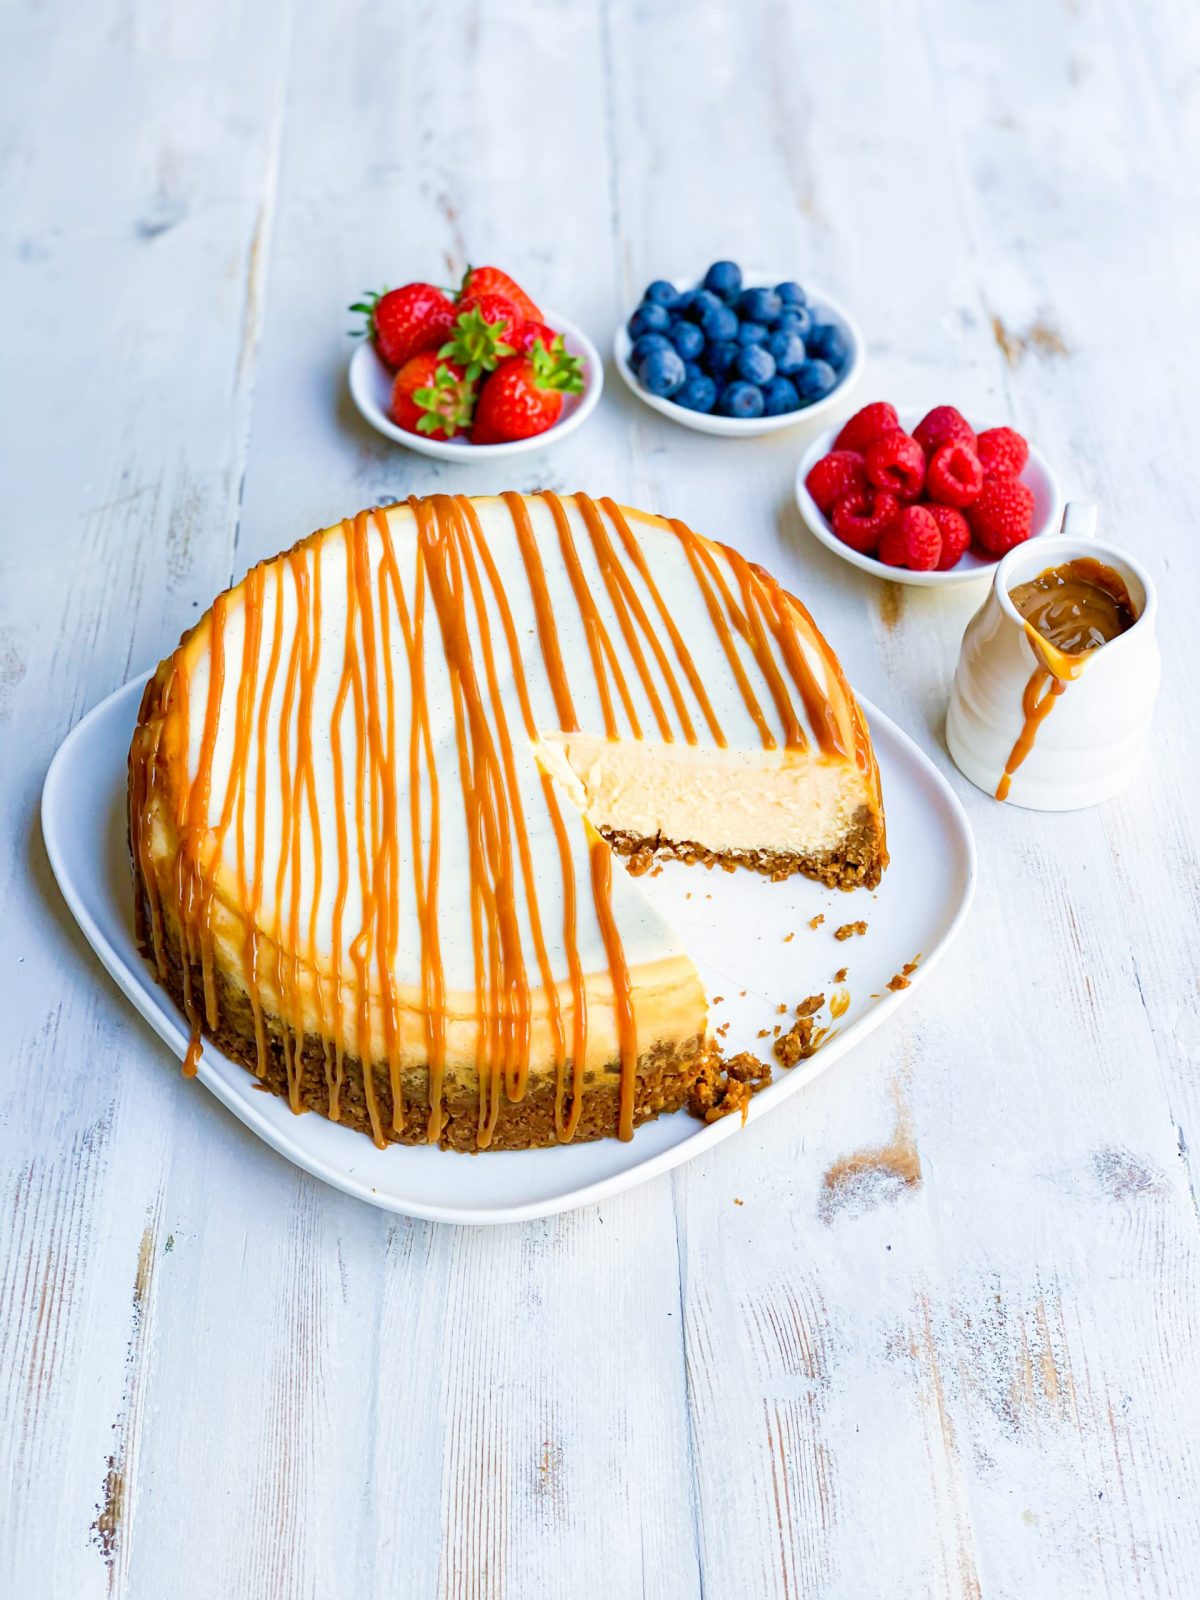
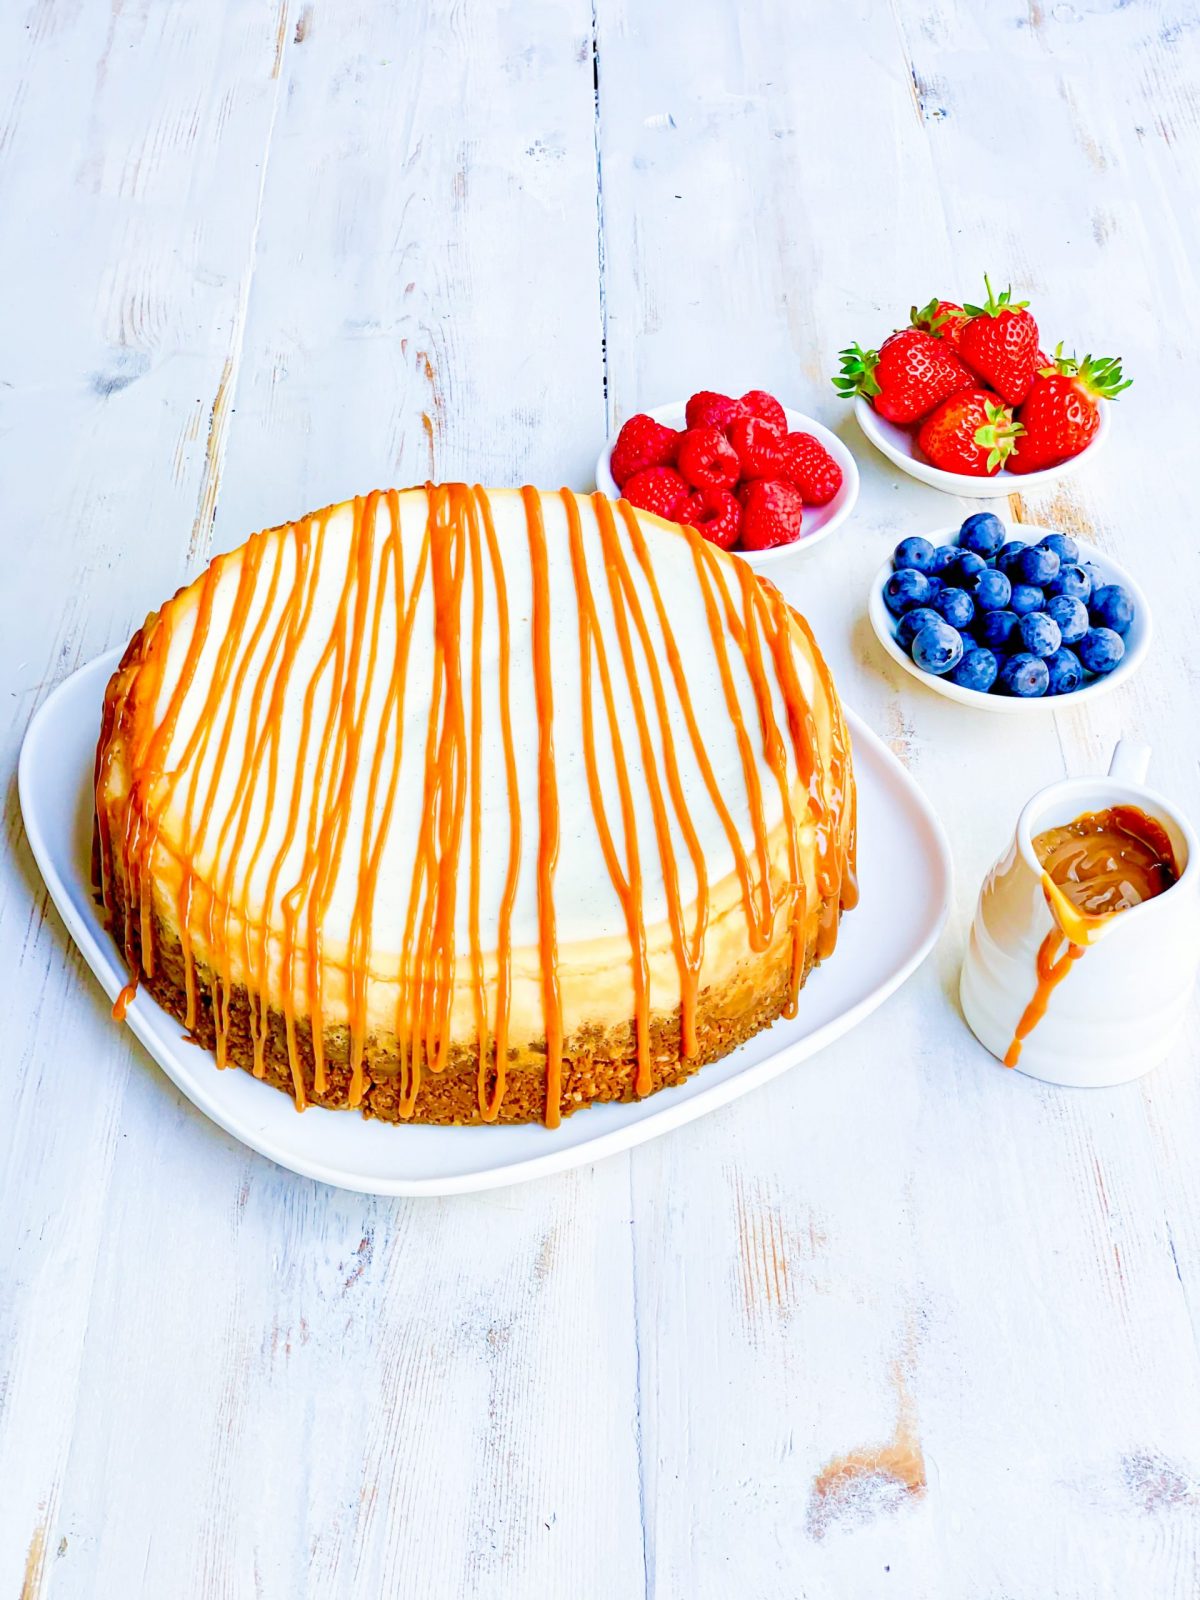
Custard Baked Cheesecake
If you’re looking for the perfect finale for a party or family gathering, then you truly can’t be this cheesecake – it’s a showstopper – and you’ll definitely want to save room for a slice (or two!)
Ingredients
Method
- Preheat the oven to 350°C, gas mark 4, 180°C (160°C fan-assisted).
- Lightly grease a 23-cm (9 inch) round, loose-bottomed spring form cake tin with some softened butter, then line the bottom and sides with parchment paper.
- Melt the butter in a saucepan over a gentle heat then set aside to cool slightly.
- Using either a food processor or a rolling pin, crush the biscuits until no large pieces remain, then tip the biscuit crumbs into the pan with the melted butter and stir well to combine. Tip the mixture into the prepared tin then, using the back of a tablespoon, smooth the mixture out evenly over the base and press it half-way up the sides of the tin, pressing firmly to ensure it is well compacted.
- Place the tin into the pre-heated oven and bake for 13-15 minutes, until the base has turned golden brown, then remove from the oven and set aside to cool thoroughly.
- Using either an electric or handheld whisk, beat the cream cheese for a minimum of 3 minutes until soft and fluffy – this can take up to 5 minutes with an electric whisk. Add the custard powder and sugar and continue to whisk for another 5 minutes until it’s light and creamy, using a spatula to scrape down the sides of the bowl every so often to ensure nothing escapes!
- Add the eggs one a time, whisking well after each and until they are just incorporated, and the mixture is smooth – taking care not to over-whisk.
- Add the lemon juice and cream and whisk again for 1 ½ minutes, focussing the whisk on the sides of the bowl for the first 60 seconds, then continuing for the remaining 30 seconds.
- Slowly pour the cream cheese mixture over the baked, cooled biscuit base and smooth over the surface with the back of a spoon until it’s level.
- Place the tin into the oven for 10 minutes, then turn the oven down to 325°C, gas mark 3, 160°C (140° fan assisted) and cook for a further 40 minutes then turn off the oven but leave the tin inside and leave the door slightly ajar for 30 minutes before removing the tin and leaving the cheesecake to cool thoroughly on a wire rack – this will take approximately 3-4 hours but, for best results, place the cooled cheesecake into the fridge and chill thoroughly overnight
A few hours later / the next day
- Heat the oven to 325°C, gas mark 3, 170°C (150° fan assisted)
- To make the topping, whisk together the sour cream, 2 tbsp sugar and vanilla bean paste (or seeds) until combined thoroughly. Pour this mixture over the top of the cooled cheesecake, then bake in the oven for 10 minutes before removing and leaving to cool then refrigerate until needed. Remove the tin and parchment paper (see Lisa’s tip) just before serving.
- Decorate with your choice of topping – I like using Dulce de Leche or depending on my mood (and the occasion) I might go for shards of chocolate or cookies – but the options are endless so don’t be afraid to be adventurous!
- Enjoy!
- When making this recipe, I’d LOVE to see how you get on so either send me a photo to lisa@myrelationshipwithfood.com or post a picture to Instagram using the #myrelationshipwithfood and tag @myrelationshipwithfood